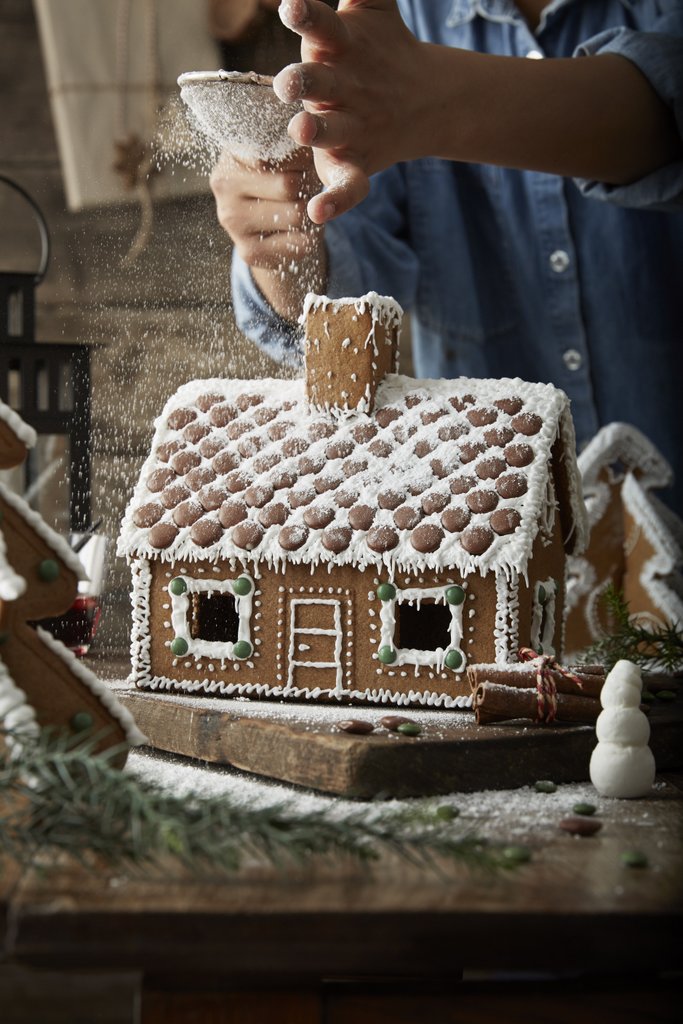
It is easy to make a gingerbread house for Christmas with a kit. The real challenge is waiting until Christmas to eat it! Here’s how to make a gingerbread house step by step.
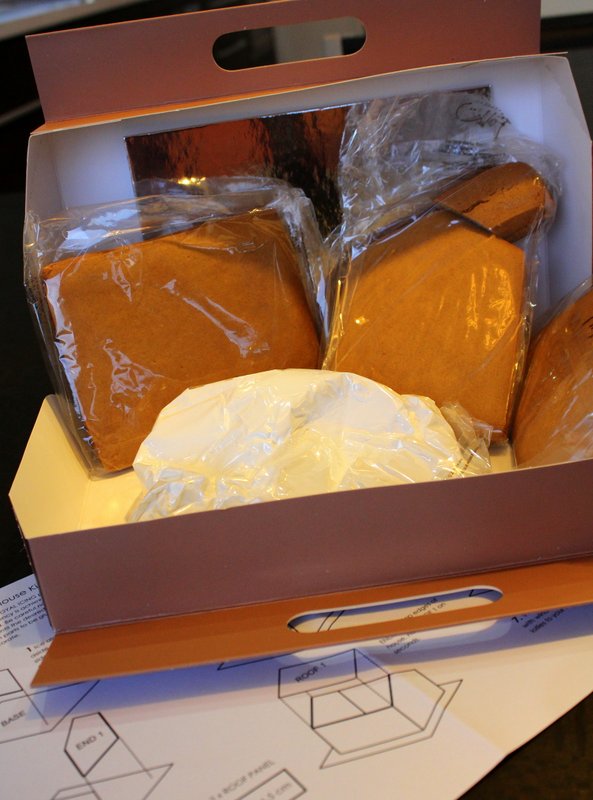
Making the gingerbread house for Christmas has become as much a tradition in our family as eating it! The combination of our favourite sweets, a bit of creativity and quality time combines into an afternoon of pure fun. You can find kits at major supermarkets, delis, and even Ikea! The main things to look for in a kit are strong walls that won’t buckle during construction and gingerbread that tastes great. Although, you won’t know how it tastes until you eat it at the end. There are plenty of gingerbread house kits around, but make sure to pick yours early so you can have lots of time planning your look. That’s part of the fun.
Christmas time also means turkey and ham – here are my best tips to ensure your feast is totally delicious.

How to make a Gingerbread House
Here’s what you need to know before you start. If you don’t want to buy a Gingerbread House Kit, I’ve included a gingerbread recipe at the end of the post. A gingerbread house mould will make it easier to get the shapes for the house right.
How long will your gingerbread house last?
Well, that depends on how quickly you eat it! If you wrap your house well in cellophane, it will stay fresh for quite a while but best to hide it away for extra protection.
Buying a gingerbread house kit made it all very easy. I suspect making and baking the gingerbread is much harder than decorating it. The pieces fit together really well, and the kit I bought also included royal icing and a piping bag, although you can purchase all of these at the supermarket. I often buy extra, just in case. You can make your house well before eating it, as good gingerbread will stand up and hold its shape no matter the climate conditions. This is because Royal Icing is primarily sugar with no fats and requires a temperature of about 150 degrees Celsius to melt.
While gingerbread is hygroscopic (it absorbs moisture or loses it depending upon the air around it), the shape of the house does not change or deform, even in humid temperatures of Queensland, due to the strong icing cementing it together. Packaged gingerbread has nine months shelf life. It’s an all-natural product, but ginger acts as a natural preservative. Gingerbread does not suddenly go off, but it will become less spicy and dull tasting over time. Wrap the house well in cellophane to protect it from humidity and insects.

How to decorate the gingerbread house kit
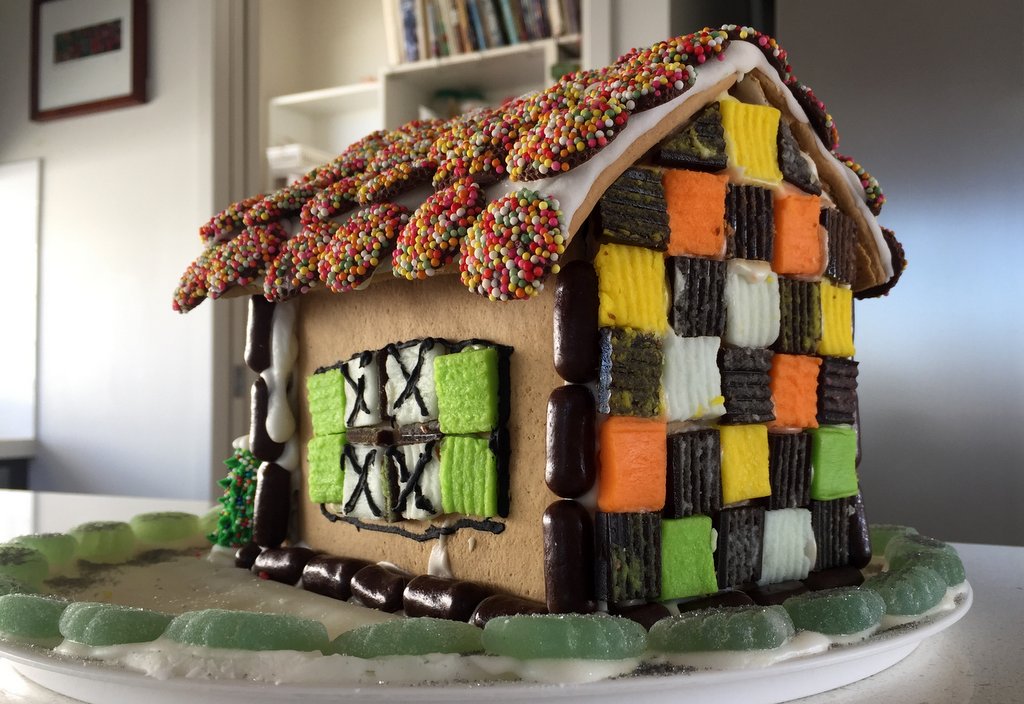
I like to collect items to decorate the gingerbread house over a few weeks. My Santa will be recycled from last year because no one ate him. They were probably scared he wouldn’t bring them presents next year! The sweets I use for decoration include freckles, chocolate bullets, licorice allsorts pulled apart into layers and mint leaves.
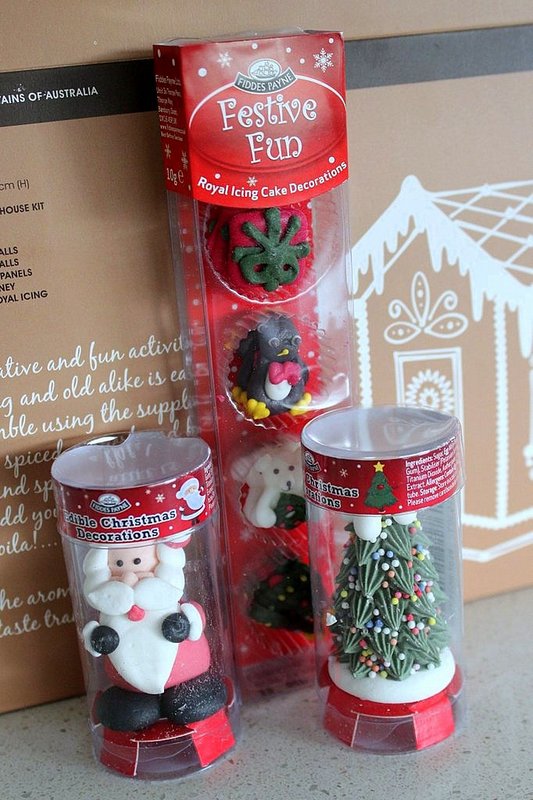
These are some of the decorations I like to use.
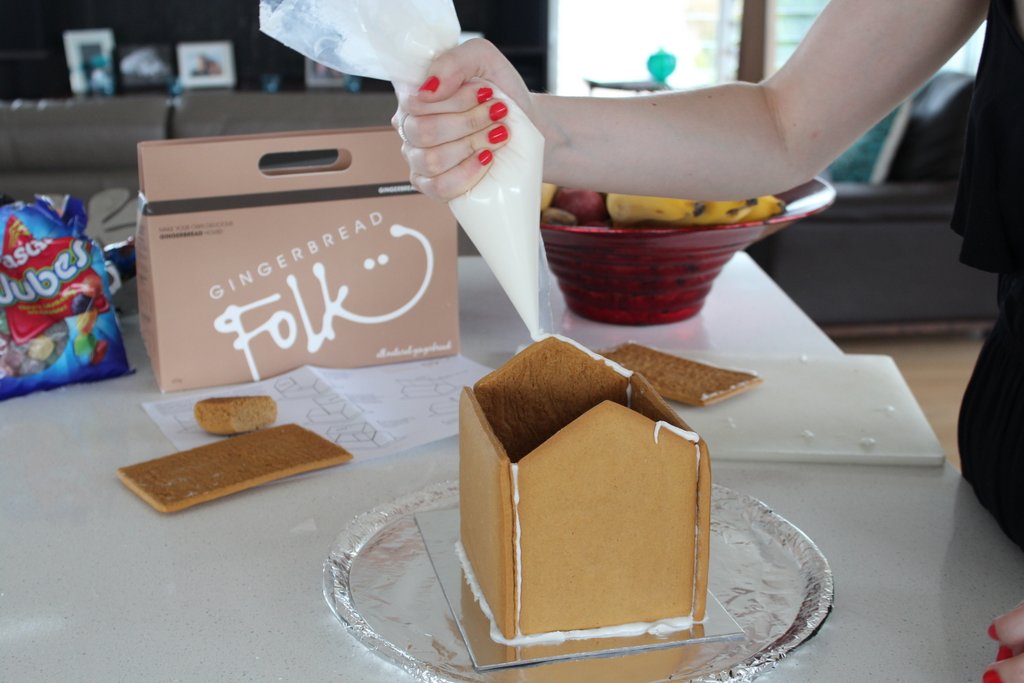
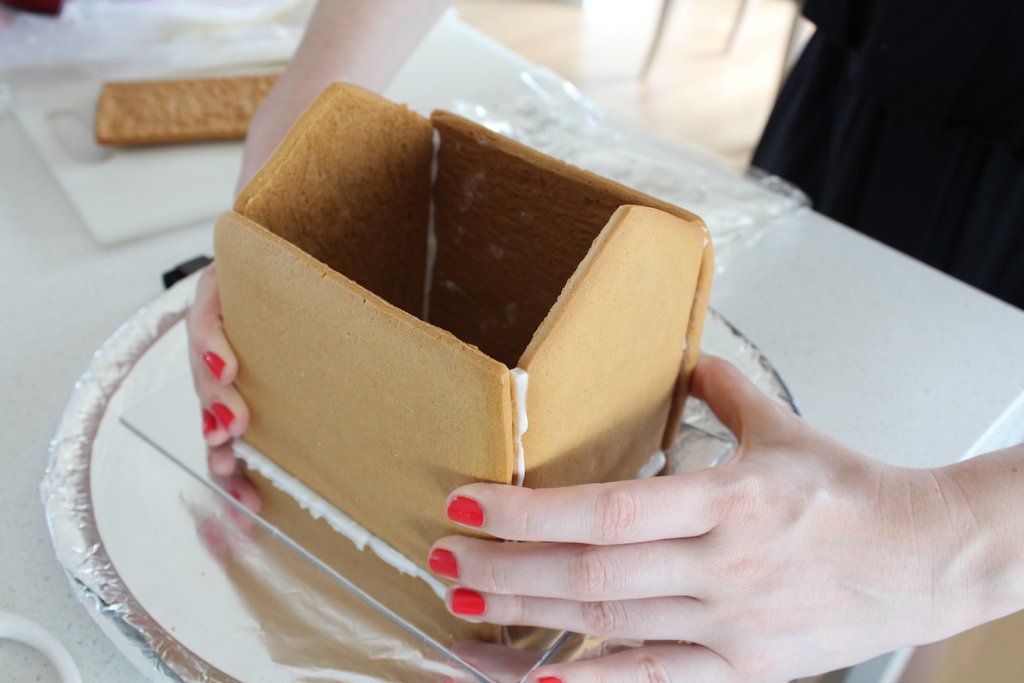
You can buy premade royal icing which becomes the glue to stick the pieces of your house together. It really helps to have two pairs of hands at this stage. Allow the pieces to dry till firm before adding another part of the house to the construction. I use a large pizza pan covered in Alfoil as the base for the house and build everything on that. This makes it easy to move the house around and also wrap it for protection.
Another fun idea is to buy several small houses and have a gingerbread house making party. It is great to see how the different houses turn out. Whichever method you choose to make your gingerbread house, I hope you have a wonderful time eating it!
Gingerbread Recipe
Here's a gingerbread recipe that you could use to make your own gingerbread house or for gingerbread cookies. You can purchase a gingerbread house kit with moulds to help you shape the house pieces.
Ingredients
- 75 gm soft brown sugar, sieved
- 2 tablespoons golden syrup
- 1 tablespoon black treacle
- 1 level teaspoon cinnamon
- 1 level teaspoon ginger
- 1 pinch cloves
- 95 gm butter, cubed, plus a small amount to grease the baking trays
- 225 gm plain flour
Instructions
- Pre-heat the oven to 180 °C and grease two baking trays with butter.
- Put the sugar, syrup, treacle, 1 tablespoon of water and spices in a large saucepan. Bring them to the boiling point, stirring all the time.
- Remove the pan from the heat and stir in the butter and bicarbonate of soda.
- Stir in the flour gradually until the dough is smooth and manageable. Add a little more flour if you think it needs it
- .Cover dough and leave in a cool place to become firm (approx. 30 minutes)
- .Roll the dough out on a lightly floured surface to 3 mm thick.
- Dip the gingerbread house cutters into flour (to help prevent the dough from sticking to the cutters) and press into the dough to produce the pieces.
- Place gingerbread pieces on trays (with a little space between each) and bake for 10-15 minutes or until they feel firm when lightly pressed. Be aware the smaller pieces may cook quicker.
- Remove from oven, leaving pieces on trays to cool for a few minutes before transferring them to a wire rack.
Notes
For the best flavour, make sure your spices are fresh.
Nutrition Information:
Yield:
20Serving Size:
1Amount Per Serving: Calories: 95Total Fat: 4gSaturated Fat: 2gTrans Fat: 0gUnsaturated Fat: 1gCholesterol: 10mgSodium: 33mgCarbohydrates: 14gFiber: 0gSugar: 5gProtein: 1g
Eatdrinkandbekerry.net offers nutritional information for recipes contained on this site. This information is provided as a courtesy and is an estimate only.