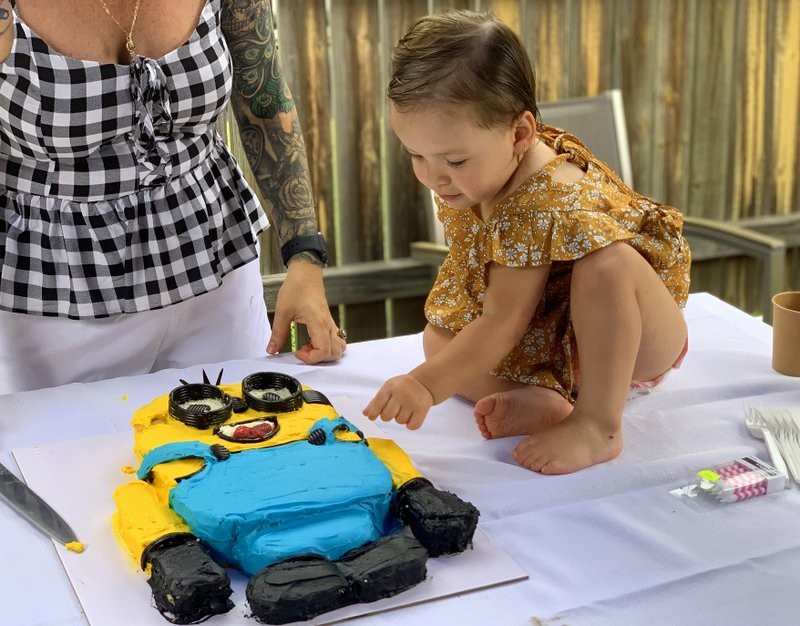
Her smile was totally worth the effort to make this easy flat minion cake with buttercream for a birthday party surprise.
It only takes five steps to make this minion cake and I’ve used every short cut I know, starting with buttercream rather than fondant, to streamline the whole process.
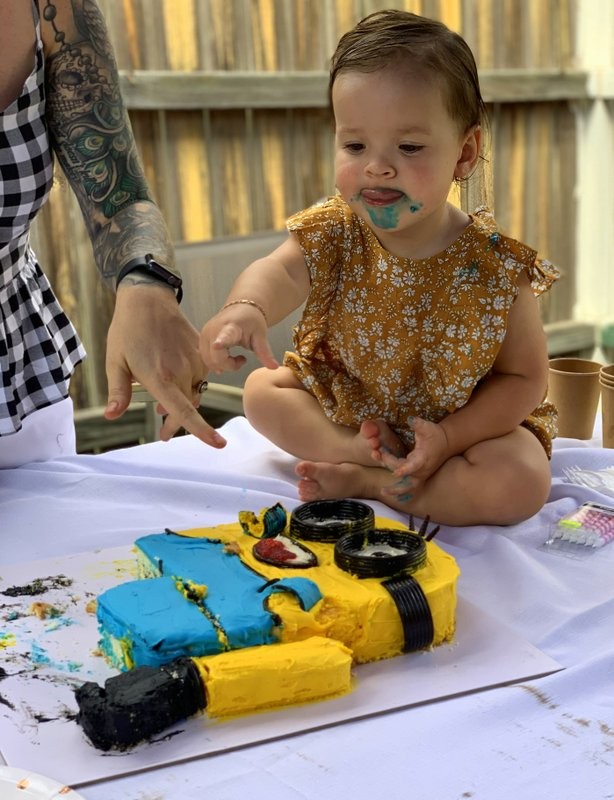
It all started on a lazy Sunday afternoon with Frankie’s new obsession with minions. Minions are yellow characters from the children’s movie Despicable Me. Their behaviour is childlike and their language often intelligible, which seems to guarantee that children love them.
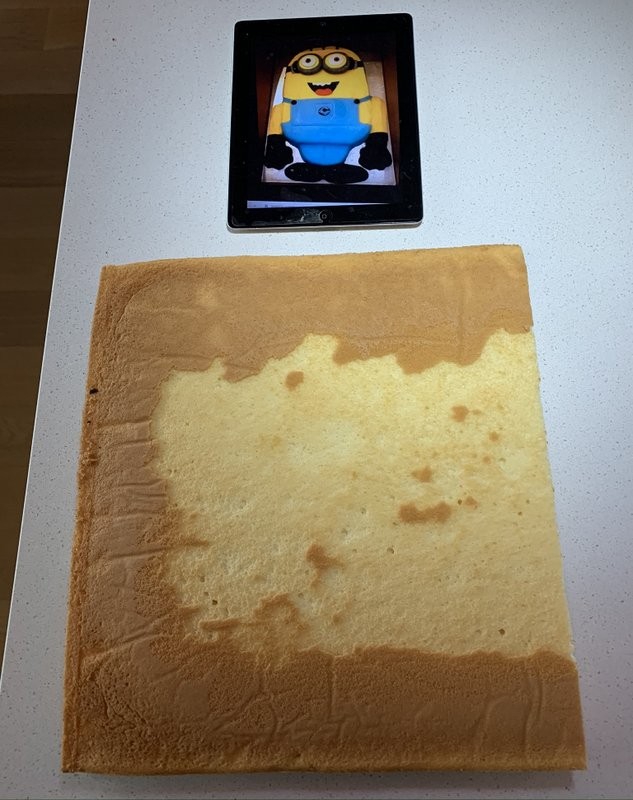
Step 1. Find your flat minion cake model
When I decided to make a minion birthday cake for Frankie’s second birthday, the first thing I did was search for photos of similar cakes, and there were from which to choose. However, many looked very complicated, and I was looking for something easy.
I made many birthday cakes for my children when they were little from a well-thumbed copy of the Women’s Weekly Children’s Birthday Cake Book. The most popular amongst the children was the treasure chest as it was full of lollies, while the most challenging was the swimming pool, which included jelly water. This started to melt at the party, which was a picnic in the park.
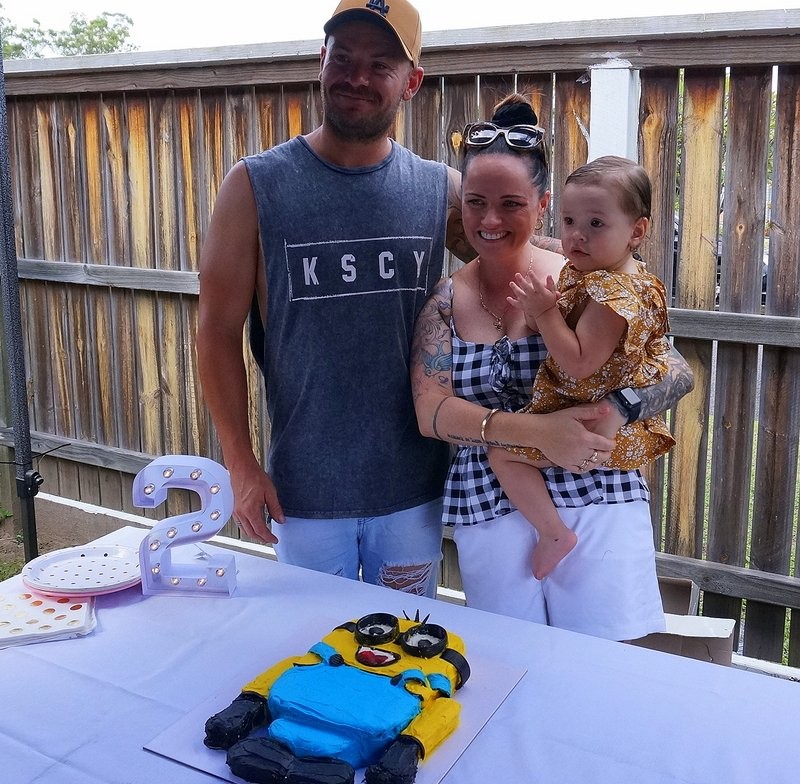
This is my first cake for the next generation, the delightful Frankie who has just turned two years old. Happy Birthday Frankie!
My flat minion cake with buttercream uses a half slab vanilla sponge cake from Woolworths which costs around $20.
You need to pre-order the slab, and it should be baked the day before so that it is easy to cut into shape.
Step 2. Buttermilk minion cake ingredients
- ½ slab cake pre-ordered from Woolworths bakery section
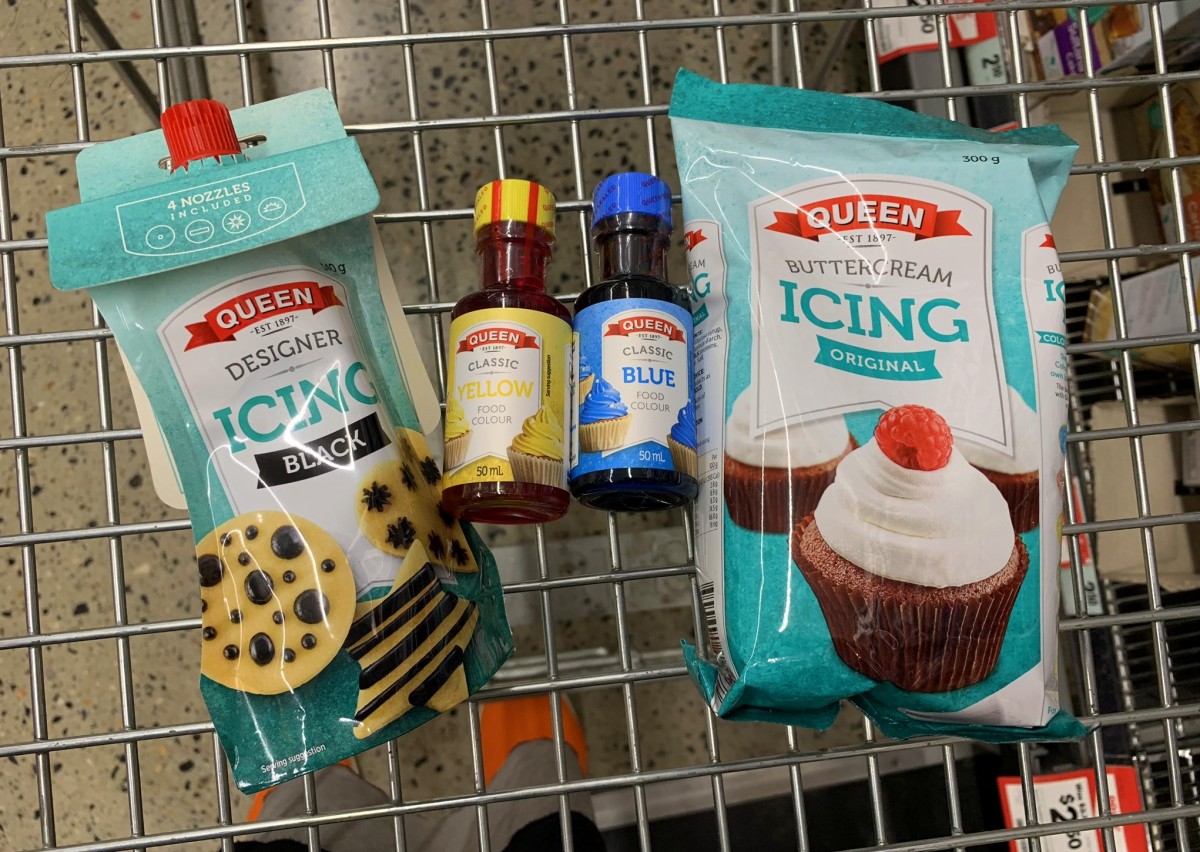
- 2 packets Queen Buttercream Mix
- 1 packet Designer icing black
- 1 bottle Queen classic yellow and blue food colour
- Strip liquorice
I chose buttercream icing over fondant icing for the minion birthday cake because I find it easier. The bright colours are also easier to mix into the icing sugar buttercream mixture.
It’s easy to make buttercream icing but even easier to have it all measured out for you. I added butter to the icing to make it a little softer and easier to spread.
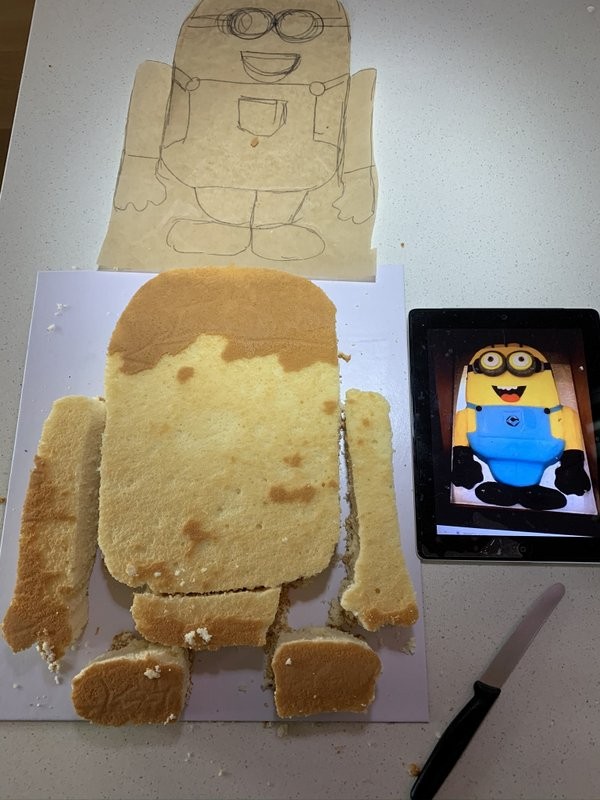
Draw a minion around the same size as the cake slab
Step 3 – Draw a minion the size of the finished cake
Using a cake photo as a guide, I drew a minion around the same size as the cake slab on a piece of baking paper. I allowed extra room at the top and the bottom. My minion is narrower than the flat cake slab, which means the leftovers can be used for a trifle pudding. K2 is pleased about that!
I cut out the shape and used it as a guide for the cake. I cut the arms, legs and feet separately as these are slightly thinner pieces of the flat cake to create a three-dimensional look.

A liquorice outline helps keep the buttercream icing in the right places.
Step 4 Outline the essential bits with liquorice strips
Using liquorice strips to outline the minion’s glasses, overalls and gloves created an excellent way to stop the buttercream icing colours mixing. I used tissues and a wooden skewer to pick up any rogue bits of colour.
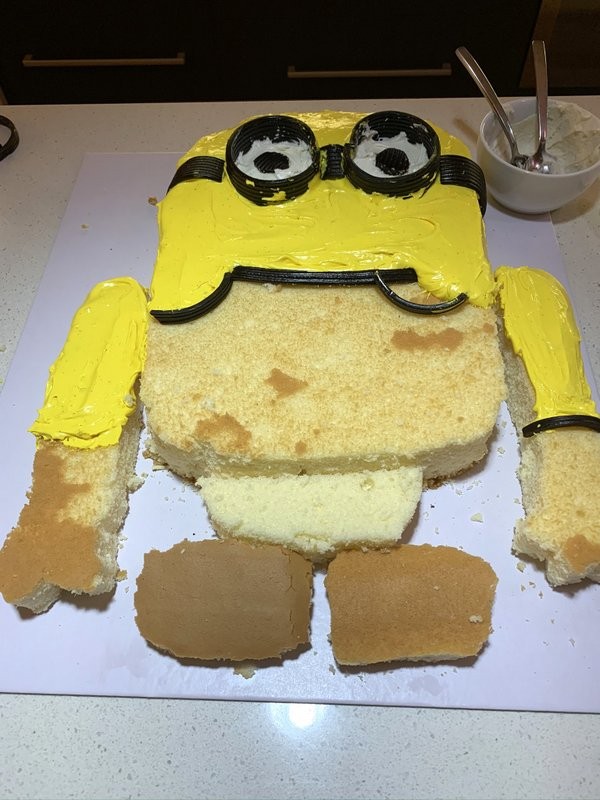
Carefully ice the minion cake.
Step 5 Cover the minion cake with buttercream icing
This is something that takes a bit of time but is not that hard to do. The most important thing is not to drop the wrong colour over the top of the pieces you have already finished.
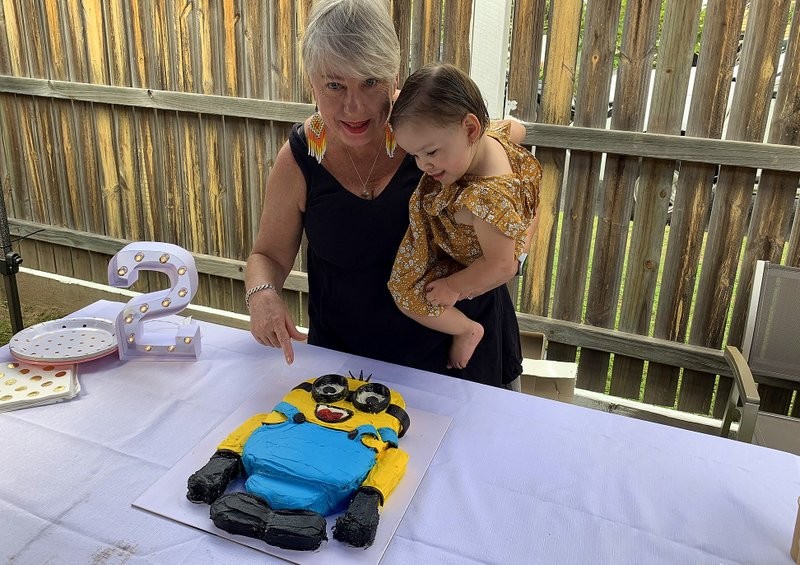
The finishing touches were three little hairs on his head and some sliced strawberries, which made his tongue.
Judging by the smile on a little girl’s face, it was a big success and that smile, and the word ‘minion’ was more than enough for me.
This minion just needs hair and a tongue.

The finished minion cake was recieved with a big smile and “minion” from Frankie.
More cute cakes to make
These honey bunny cupcakes are so easy to make and will put a smile on any child’s face.
Also, these chocolate brownies are worth every calorie.